Installation and Configuration of Django with PostgreSQL
Using Ubuntu Bash in Windows System
Hey there readers, I am about to show you step by step how you can install and configure Django. If you are just starting out on Django and struggling to find the right material online then you are at the right place.
So without further ado let's get started. Here, is the list of steps, on how to start with Django.
Step 1: Install Packages from Ubuntu repositories
Step 2:Create the Postgres database and user
Step 3: Install Django and create the first Django project
Step 4: Create a virtual environment and install PostgreSQL
Step 5: Adjust the project settings
Step 6: Migrate the project
Step 7: Run the server and create a superuser
Step 1: Install packages from Ubuntu repositories
Let us begin by downloading and installing all of the items we need from the Ubuntu repositories. First, we need to update the local apt package index and then download and install the packages. The packages we install depend on which version of Python your project will use. I suggest you use the latest version of python, pip, and postgresql which is currently 3.8.5.
$ sudo apt-get update
  sudo apt-get install python3
  sudo apt-get install python3
  sudo apt install python3-pip python3-dev libpq-dev postgresql postgresql-contrib nginx curl
Step 2: Create the Postgres database and user
We will create a database on postgresql with the following commands
$ sudo -u postgres psql
If you have already installed postgres on your windows, it will be running in port 5432 which will throw an error as such
psql: error: could not connect to server: could not connect to server: No such file or directory
 Is the server running locally and accepting
 connections on Unix domain socket "/var/run/postgresql/.s.PGSQL.5433"?
$ sudo -u postgres psql -p 5432 -h 127.0.0.1
You will be given a PostgreSQL prompt where we can set up our requirements.
First, create a database for your project
# CREATE DATABASE databasename
Note: Every Postgres statement must end with a semicolon, otherwise you will face issues
Next, create a database user for your project. You can either use a password or leave it blank and remember the credentials or note it down to make sure you have it saved somewhere. As we need to configure it later in our Django settings.
# CREATE USER user WITH PASSWORD 'password';
Once you are done creating a user you can exit out of the PostgreSQL prompt with the command.
# \q
Step 3: Install Django and create the first Django project and app
Making a directory called apps for instance so we can better manage the project.
mkdir to make a directory (folder) called apps
$ mkdir apps
Change the directory to apps
$ cd apps
Install Django with pip3 using the command
$ python3 -m pip install django
Create your Django project with command
$ django-admin startproject projectname
Change the directory to projectname
$ cd projectname
Create Django Application
$ django-admin startapp appname
Step 4: Create a virtual environment and install PostgreSQL
We will be installing our Python requirements within the virtual environment. Each python project has its own virtual environment. Let us start by installing updated pip and virtual environment$ sudo -H pip3 install --upgrade pip
$ sudo -H pip3 install virtualenv
Within the project, directory create a virtual environment with the command
$ virtualenv projectnameenv
This will create a directory called projectnameenv. We will activate the virtual environment with the following command.
$ source projectnameenv/bin/activate
After executing the following command on your terminal you will see something like this which means your virtual environment is active.
(projectnameenv) user@laptop:~/apps/projectname$
With your virtual environment active, install the psycopg2 PostgreSQL adaptor with the local instance of pip:
$ Sudo apt-get install python3-psycopg2
  pip3 install psycopg2-binary
Step 5: Adjust the project settings
We need to edit the settings.py file in order to sync and connect the DB and Django projects. You can open settings.py with pycharm text editor or you can use vim to edit the settings.py file in your terminal.$ vi settings.py
Paste the following code to connect with postgresql
DATABASES = {
  'default': {
    'ENGINE': 'django.db.backends.postgresql_psycopg2',
    'NAME': 'databasename',
    'PASSWORD': '',
    'HOST': 'localhost',
    'PORT':'',
  }
}
AUTH_USER_MODEL = 'contacts.User'
$ vi models.py
Paste the following code to override the default django user model
from django.contrib.auth.models import AbstractUser
# Always override the default django user model when starting a project, it is problematic if you miss this step
# Down the line and want to extend the default setup

class User(AbstractUser):
  pass
Also register the model in app’s admin.py
(projectnameenv) user@laptop:~/apps/projectname/appname$ vi admin.py
$ vi admin.py
Paste the following code to override the default django admin
from django.contrib import admin
from django.contrib.auth.admin import UserAdmin
from .models import User

admin.site.register(User, UserAdmin)
Step 6: Migrate the project
Now is the time to migrate the project with the command
$ python3 manage.py makemigrations
  python3 manage.py migrate
Step 7: Run the server and create superuser
The final step in the process is to create a superuser for Django admin so you can manage the user in the backend. The command to create a superuser is$ python3 manage.py createsuperuser
You will have to select a username, provide an email address, and choose and confirm a password.
Username: sammy
Email: s.joshi@sbo.tech
Password:******
You can now run the server using the command.
$ python3 manage.py runserver
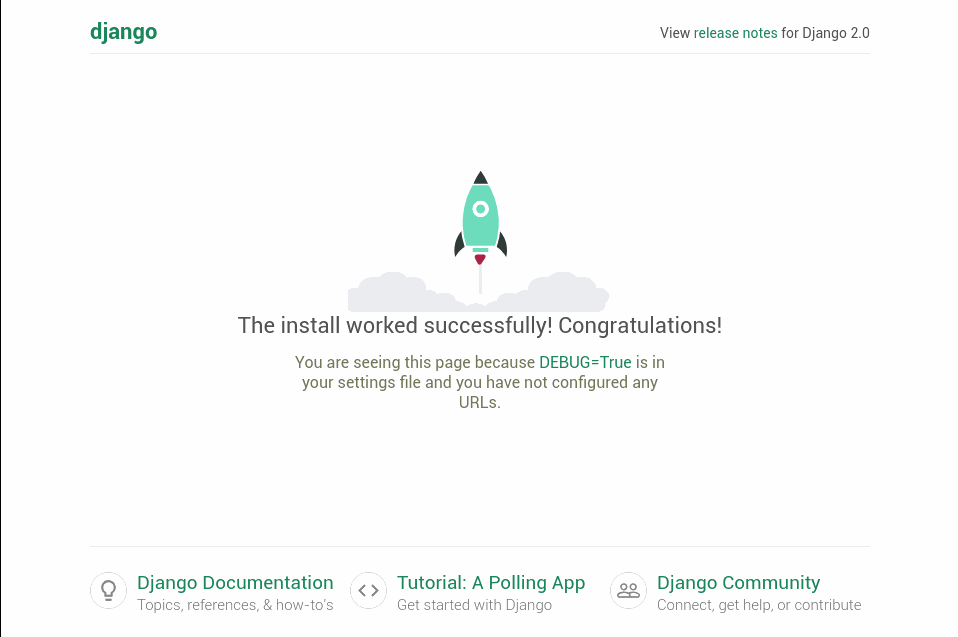
In your web browser enter http://localhost:8000 that will lead you to the Django site.

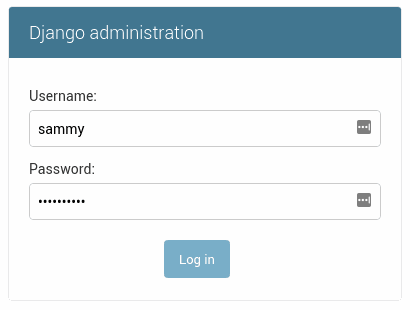
Finally, give yourself a pat on the back that you have successfully installed and configured Django. You can now login to Django admin by entering the URL localhost:8000/admin and login with the username and password you created. Which will look something like this

Read Another Article
